
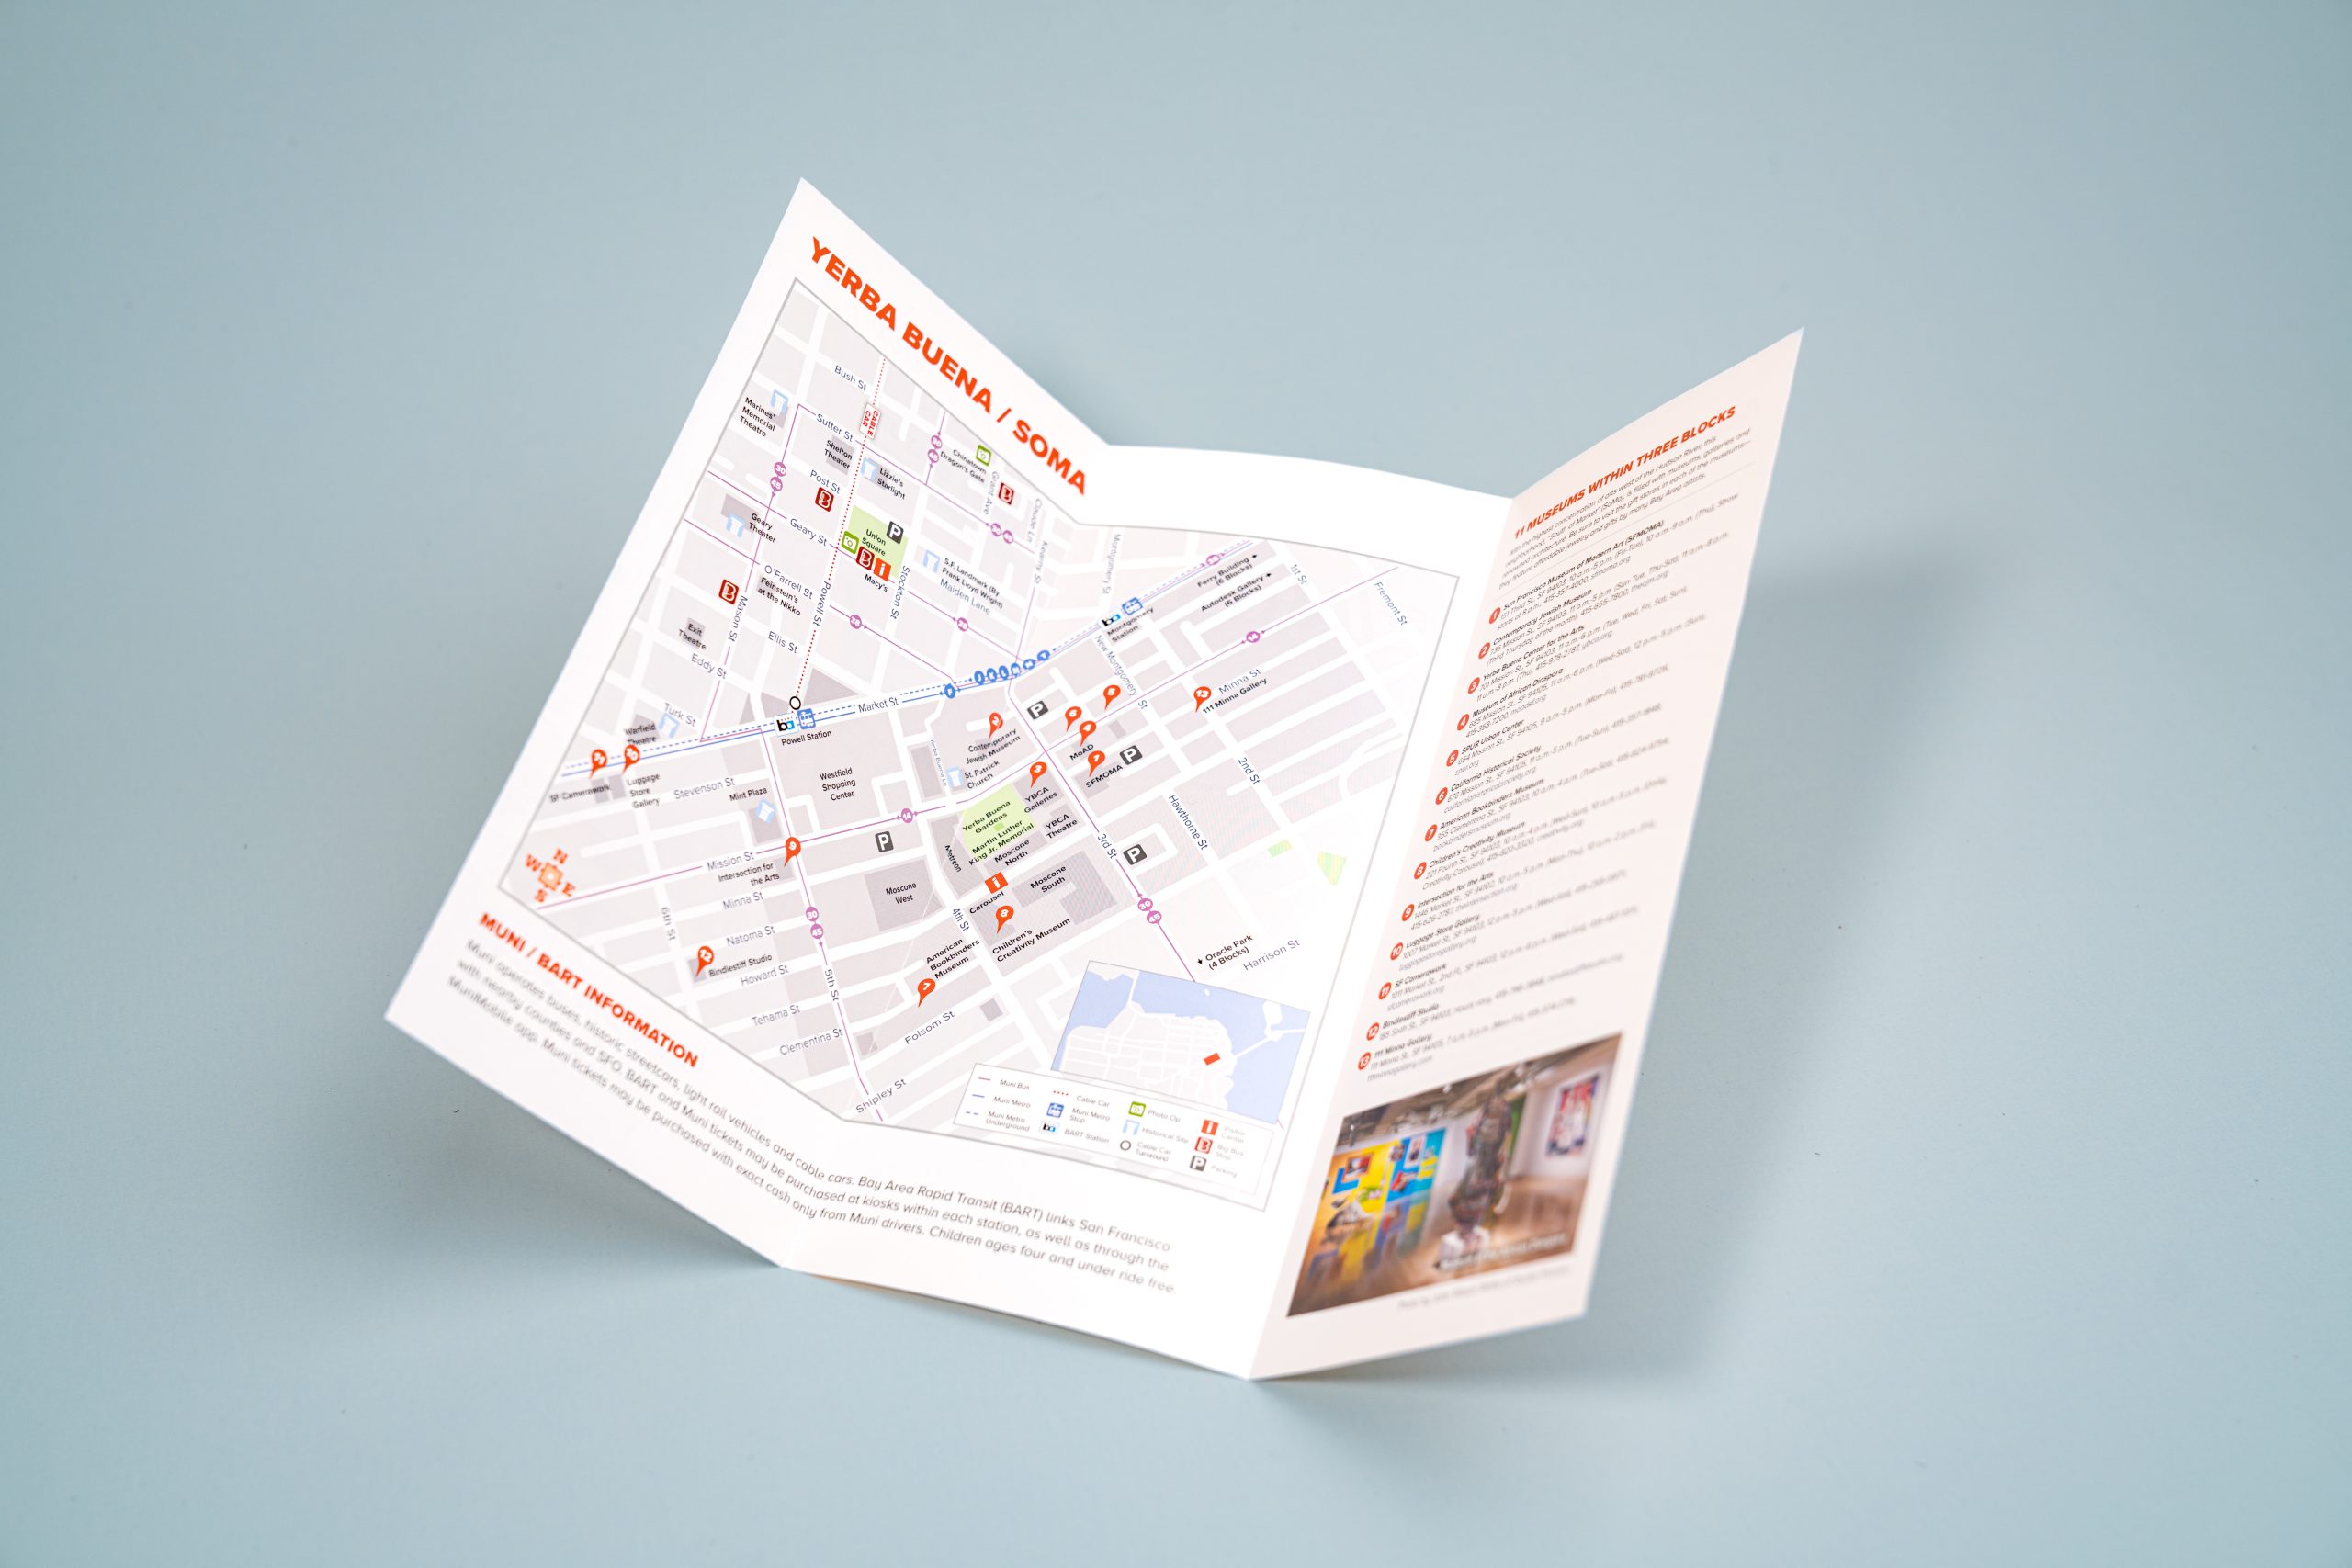
A tri-fold brochure is a classic marketing tool: compact, easy to distribute, and versatile enough for everything from restaurant menus to real estate listings. But if you’ve ever searched “how to make a trifold brochure” and felt overwhelmed by panel order, folding styles, and sizing, you’re not alone. This guide walks through exactly what a tri-fold brochure is, how it’s laid out, and how to design one correctly from start to finish.
What Is a Tri-Fold Brochure?
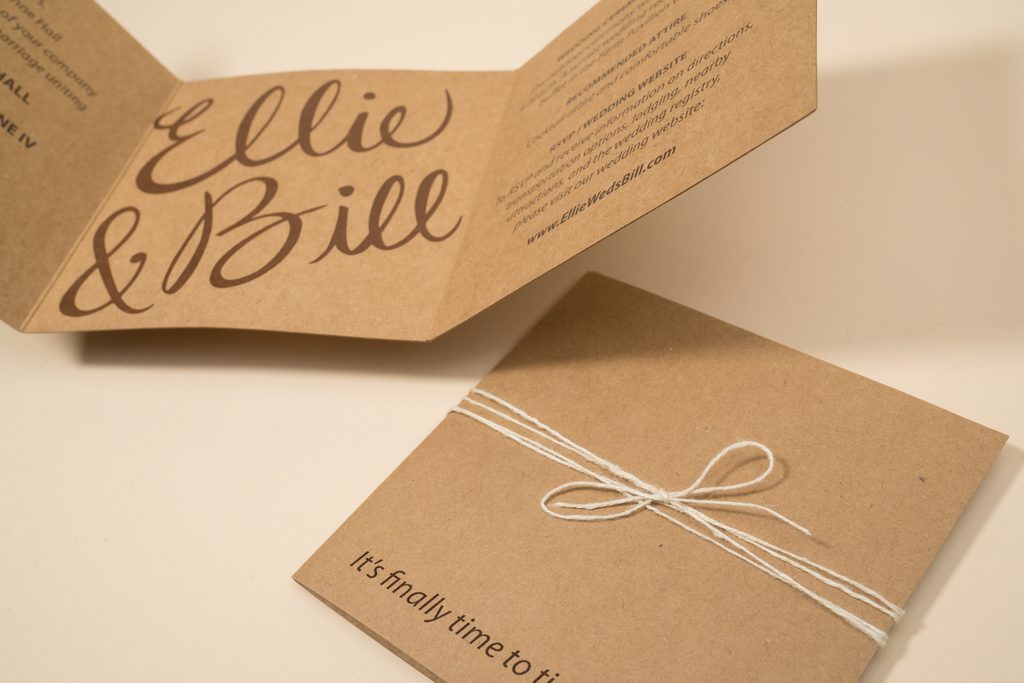
A tri-fold brochure is a single sheet of paper divided into three equal (or near-equal) panels and folded twice to create six usable surfaces — three on the front and three on the back. It’s one of the most common brochure formats because it folds down to a compact, pocket-friendly size while still offering plenty of room for content, images, and calls to action.
What Does a Tri-Fold Brochure Look Like?
When fully opened, a tri-fold brochure looks like a single flat sheet — typically 8.5″ x 11″ (letter size), though A4 and larger sizes are also common — divided into three vertical (or sometimes horizontal) sections. When folded, it becomes a compact panel roughly one-third the width of the original sheet, similar in size to a standard envelope insert.
Tri-Fold Brochure Size and Dimensions
The most standard tri-fold brochure size is 8.5″ x 11″, folded into three panels of approximately 3.67″ each. Other common sizes include:
- 8.5″ x 14″ (legal size) – for brochures needing extra space per panel
- A4 (210mm x 297mm) – the standard international size
- 11″ x 17″ – for larger format brochures with wider panels
When designing, always account for a small size difference between the inner and outer panels — because the brochure folds inward, the innermost panel needs to be slightly narrower (usually by about 1/8″) so it tucks cleanly without buckling.
Tri-Fold Brochure Panel and Page Order
This is one of the most common points of confusion when creating a tri-fold brochure. Here’s the breakdown:
Front side (outside, visible when folded):
- Back panel (leftmost when unfolded) – often includes contact info, a map, or a QR code
- Front cover (rightmost) – the first thing readers see; should include your title, main image, and branding
Inside (visible when unfolded):
3. Left inside panel
4. Center inside panel
5. Right inside panel – often mirrors the flow of the front cover, continuing your message
Numbering your panels 1 through 6 in your design file before you finalize layout is the easiest way to keep the fold order straight and avoid printing content upside down or out of sequence.
How to Fold a Tri-Fold Brochure
There are two primary folding styles used for tri-fold brochures:
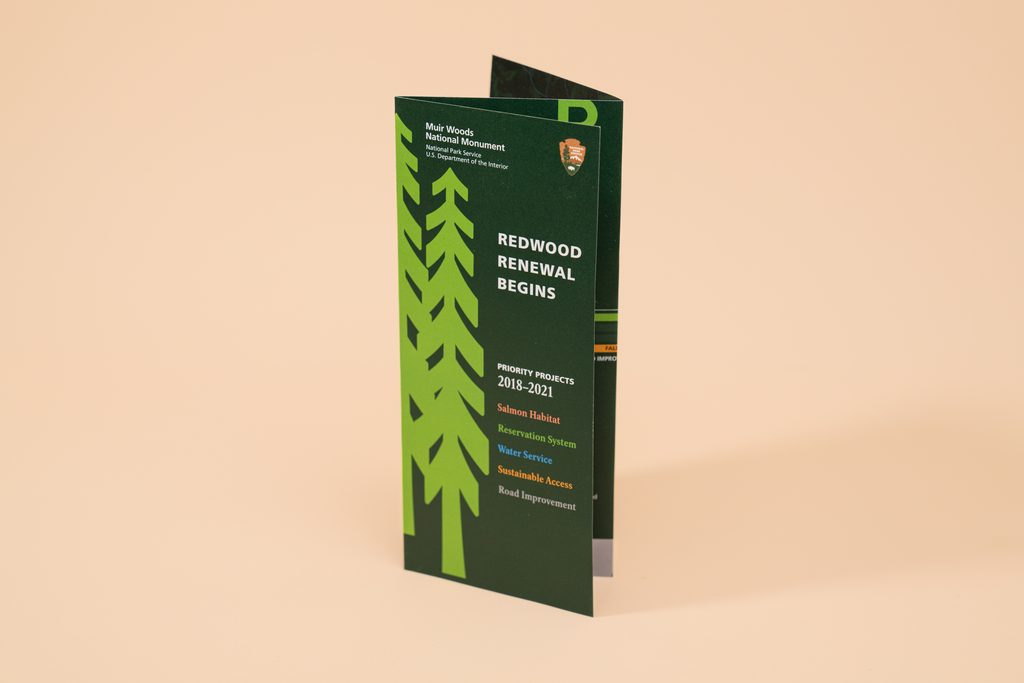
- Letter fold (the standard tri-fold): The right panel folds in first, then the left panel folds over it. This is the most common fold and the one most people picture when they hear “tri-fold brochure.”
- Z-fold (accordion fold): Panels fold in opposite directions, creating a zigzag shape when viewed from the side. This style is popular for brochures meant to unfold like a timeline or sequential story, since each panel reveals as the reader unfolds it.
To fold a tri-fold brochure by hand: lay the sheet flat, fold the right third inward first, then fold the left third over the top. For the Z-fold, fold the right third back (away from you) and the left third forward.
How to Create a Tri-Fold Brochure: Step-by-Step
- Choose your size and orientation – Start with your paper size (usually 8.5″ x 11″) and decide on portrait or landscape.
- Set up your panels – Divide your document into three columns, adjusting the inner panel width slightly narrower to accommodate the fold.
- Plan your content flow – Map out what goes on each of the six panels before you start designing, using the panel order above as your guide.
- Design your front cover – This is your first impression; keep it bold, clear, and on-brand.
- Fill in the inside spread – Use the three inside panels to tell your full story, whether that’s product details, services, or a step-by-step guide.
- Add your back panel – Include contact information, a map, social handles, or a call to action.
- Proof and check fold lines – Before printing, double-check that your fold guides are accurate and that no critical text or images sit too close to the fold lines, where they could be visually cut off or hard to read.
- Print and fold a sample – Always print and fold a physical proof before running a full batch, so you can confirm the layout works exactly as planned.
Choosing the Right Paper for Your Tri-Fold Brochure
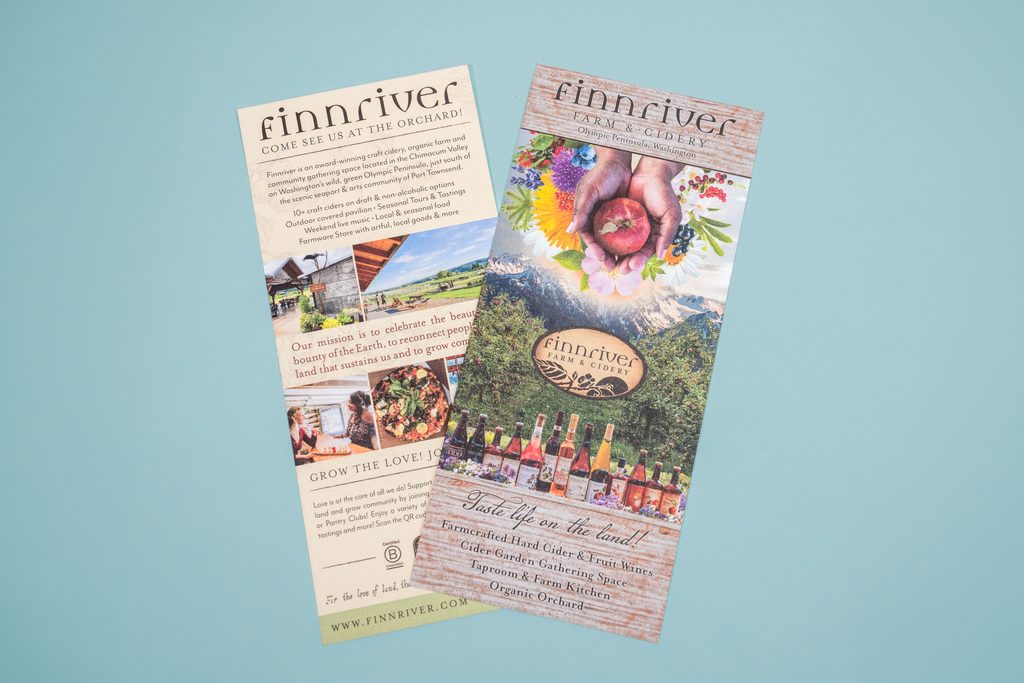
Tri-fold brochures are typically printed on text-weight paper (around 80-100lb text) for a professional feel without excessive bulk, though heavier cover stock can be used for a more premium, durable brochure. Matte and satin finishes are popular for readability, while gloss finishes make photography and color pop.
Printing Tips for Tri-Fold Brochures
- Print back to back: Most tri-fold brochures are double-sided, so make sure your front and back panels align correctly when printed.
- Use bleed: If your design includes full-panel colors or images, extend them slightly beyond the trim line to avoid white edges after cutting.
- Double-check fold direction: Confirm with your printer whether you need a standard letter fold or a Z-fold, since the panel setup differs slightly between the two.
Ready to Print Your Tri-Fold Brochure?
Whether you’re designing a tri-fold brochure for a product launch, an event, or your business services, Greenerprinter can help you bring it to life — sustainably, accurately, and on time.
Ready to bring your project to life? Greenerprinter offers a full range of sustainable printing options. Explore some of our most popular products:
Calendar Printing
Custom Calendars | Wall Calendars | Saddle-Stitched Calendars
Book & Booklet Printing
Custom Books | Custom Booklets | Saddle-Stitched Booklets | Zines | Catalogs
Brochure Printing
Custom Brochures | Tri-Fold | Bi-Fold | Gate Fold | Z-Fold