
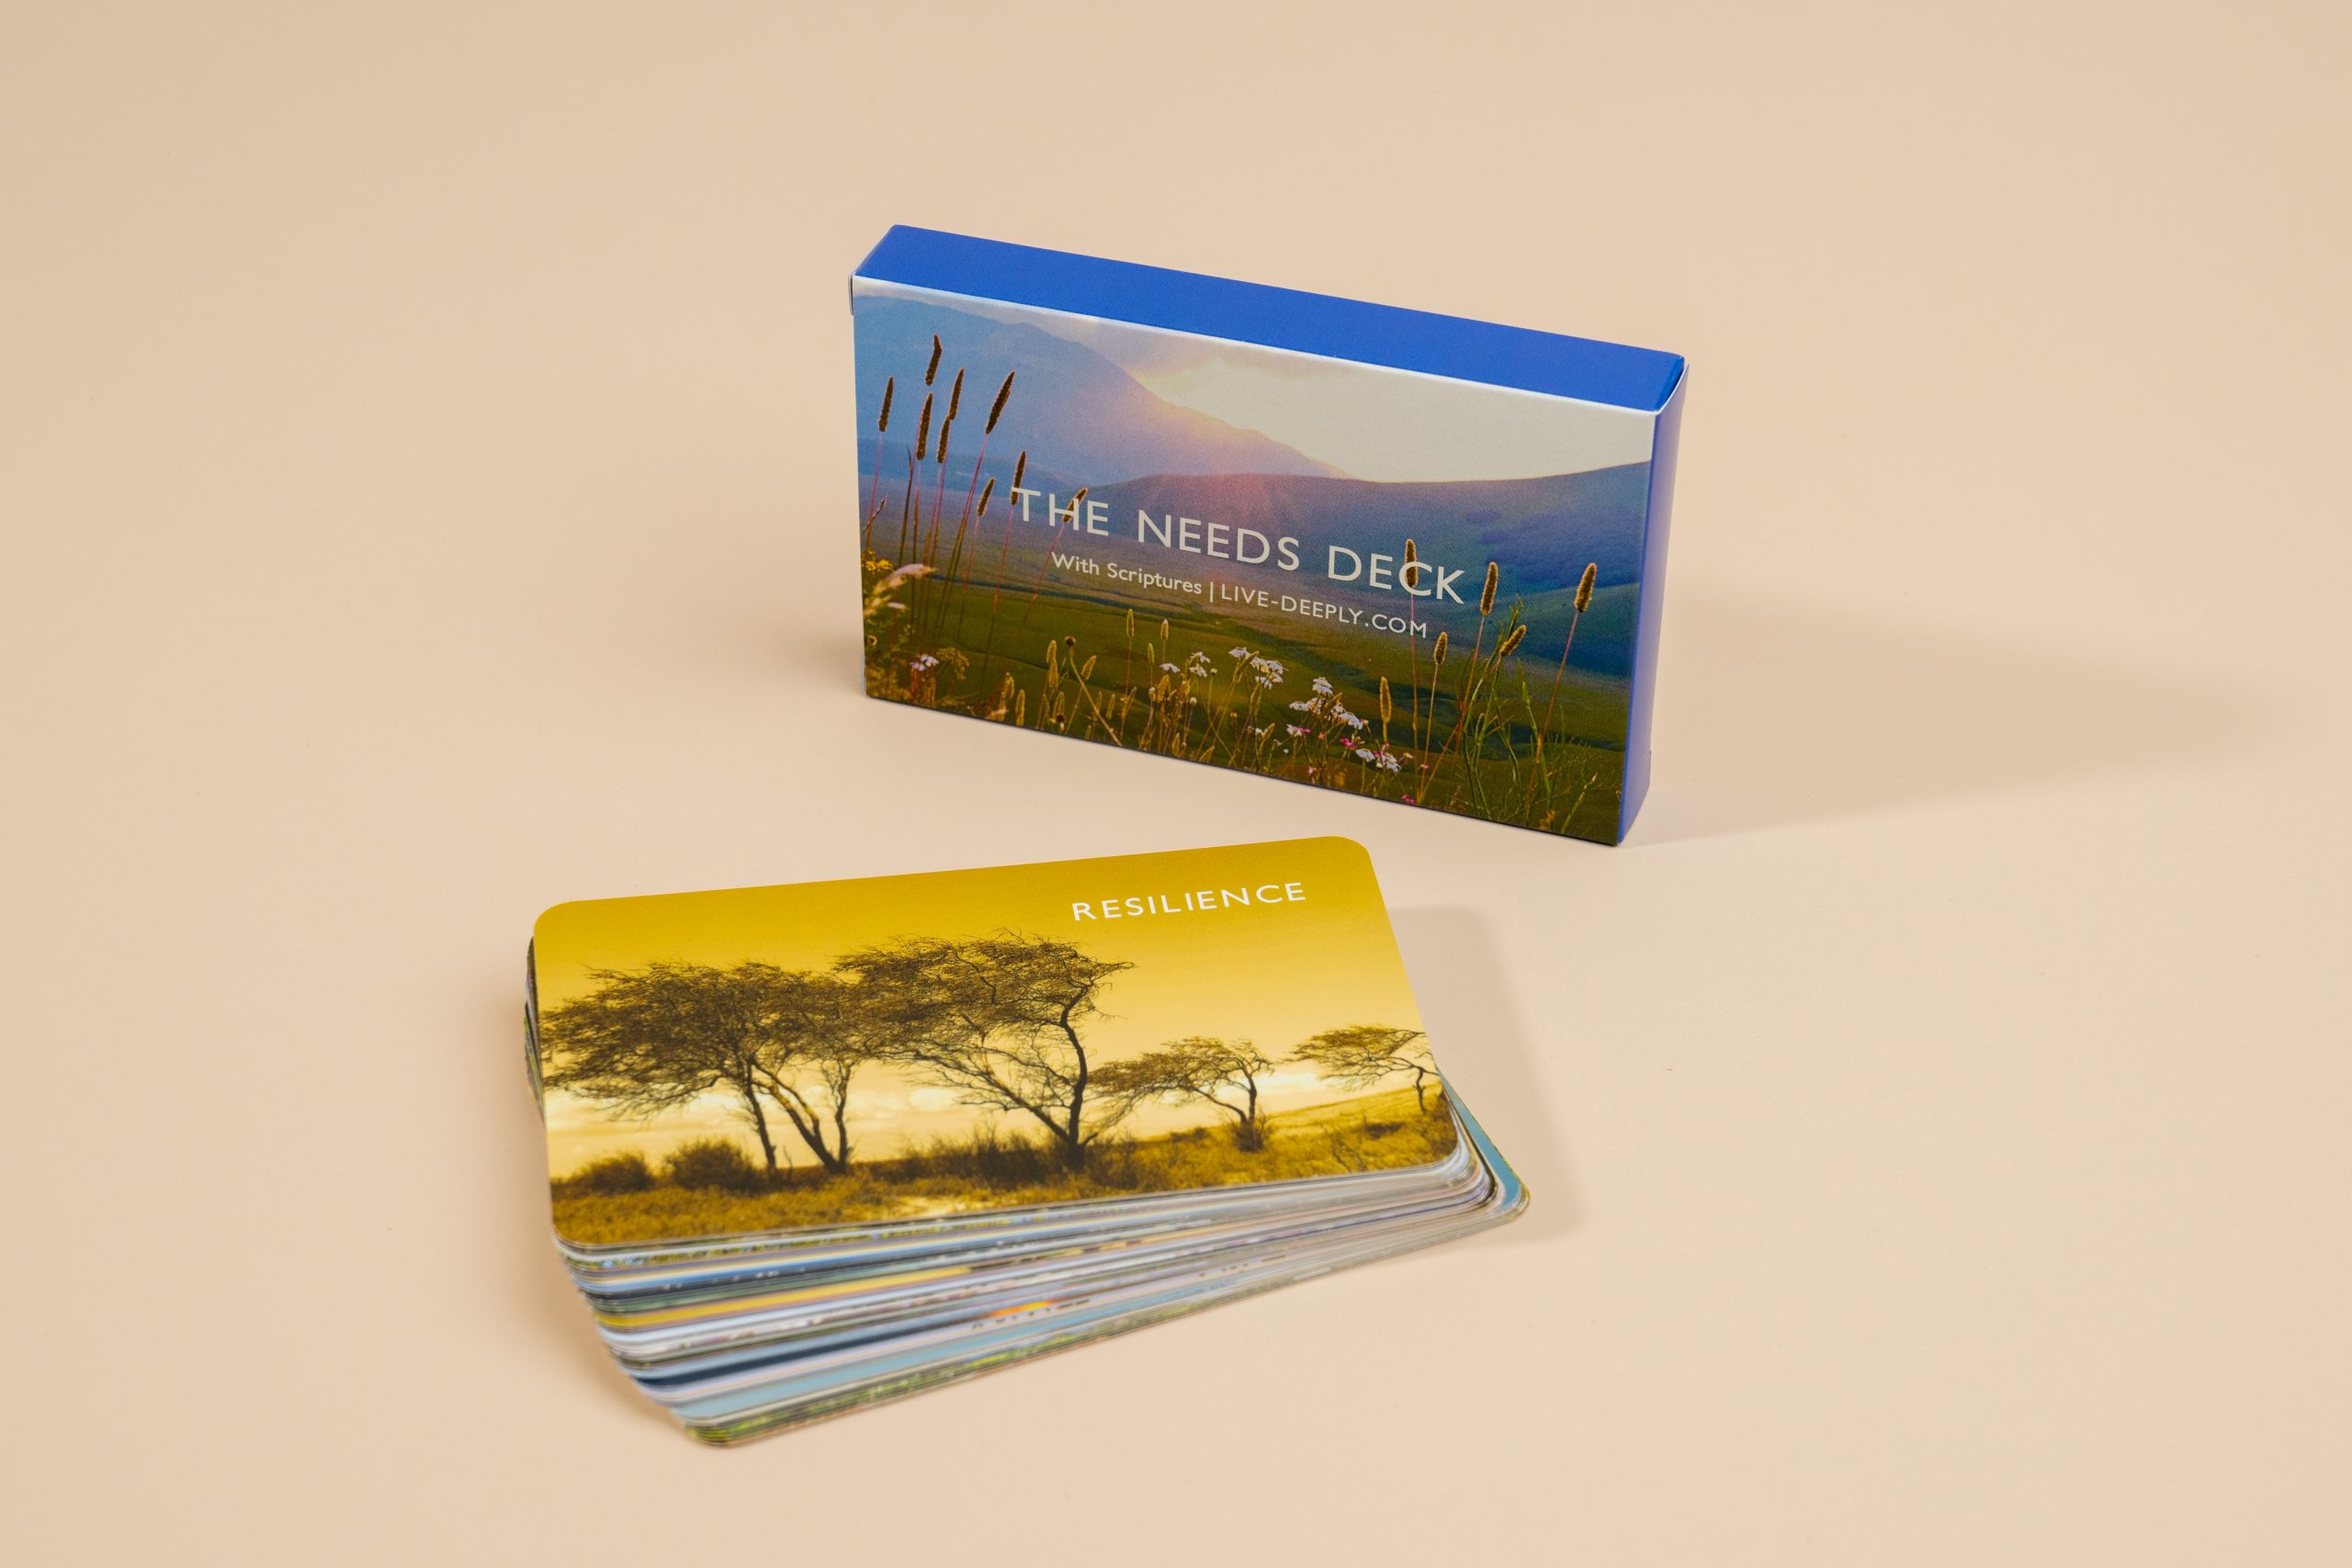
What Makes a Good Card Deck Box
A card deck box (also called a tuck box, deck case, or playing card box) needs to do two things well: hold the deck snugly enough that cards don’t rattle or slide out, and be easy to open and close hundreds of times without falling apart. Most decks use a simple tuck end box — a folded paperboard box with a flap that tucks into the front, no glue or extra hardware required once assembled.
Beyond the basic structure, a good deck box also needs enough surface area to actually sell the deck — cover art, a title, and enough back-panel space for rules or branding if the deck needs it.
Standard Playing Card Box Dimensions
If you’re designing your own box, start from standard card sizes. A standard poker-size playing card measures 2.5″ x 3.5″, and a bridge-size card (slightly narrower, common in bridge and some card games) measures 2.25″ x 3.5″. A tuck box built for a standard 54-card poker deck typically comes out to roughly:
- Width: ~2.6″–2.75″
- Height: ~3.6″–3.75″
- Depth: ~0.75″–1.25″, depending on card count and card stock thickness
These aren’t hard rules — thicker card stock, linen finishes, or a larger card count (like a trading card or tarot deck) will all push the depth measurement up. If you’re designing for a specific card count, it’s worth mocking up a physical stack of your actual cards and measuring the depth directly rather than relying on a generic number.
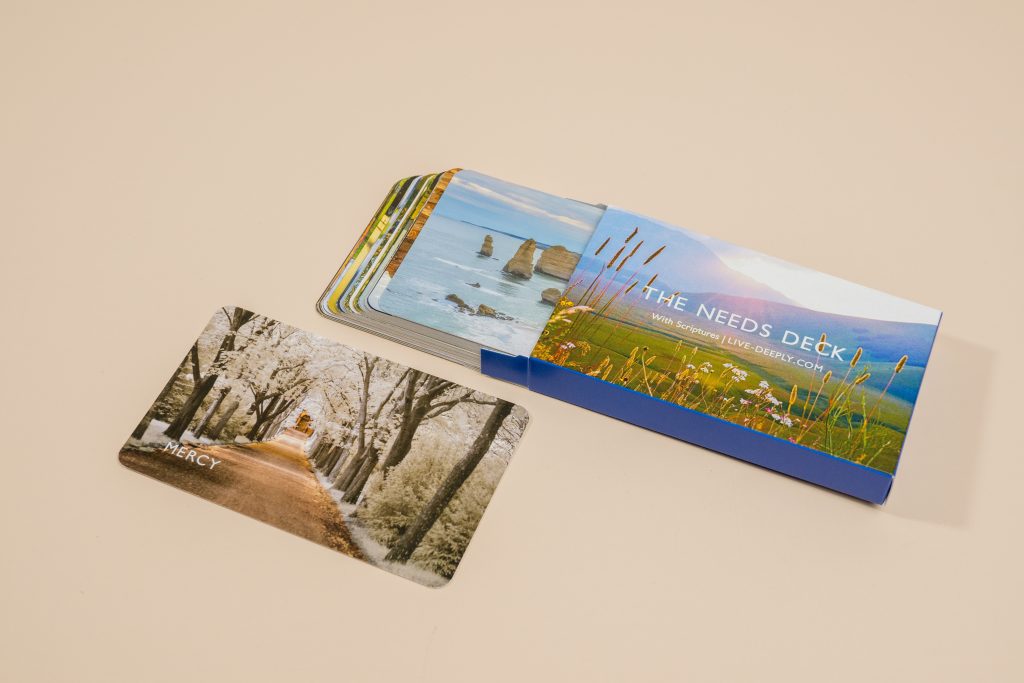
How to Make a Card Deck Box: Step-by-Step
1. Choose Your Card Size and Count
Confirm your card size (poker, bridge, tarot, or a custom size) and exact card count first — every other measurement in your box depends on this.
2. Measure or Download a Template
The fastest way to get accurate dimensions is to start from an existing tuck box template rather than building one from scratch. Greener Printer’s Custom Playing Cards product page includes a free playing card template with bleed and safe zones built in, sized to standard poker and bridge dimensions.
3. Build the Dieline
A dieline is the flat cutting-and-folding pattern your box is built from — it shows every panel, fold line, and tuck flap laid out flat before assembly. If you’re designing digitally, this is typically built in Illustrator or a similar vector program, with fold lines and cut lines on separate layers.
4. Design Your Panels
With the dieline in place, design each panel: front (cover art and title), back (rules, branding, or barcode if needed), sides, and the top/bottom tuck flaps. Keep any critical text or logos away from fold lines and the tuck flap’s overlap area, since that’s where the box physically bends and folds over itself.
5. Prototype Before You Commit
Print your design at actual size on regular paper first, cut it out, and fold it by hand. This catches sizing issues — a box that’s too tight, a flap that doesn’t tuck cleanly — before you commit to card stock or a full print run.
6. Print, Cut, and Assemble
Once your prototype fits, move to real card stock. If you’re printing a small batch yourself, a straightedge, bone folder, and craft knife will get clean folds. For anything beyond a handful of boxes, custom printing (covered below) is faster and far more consistent.
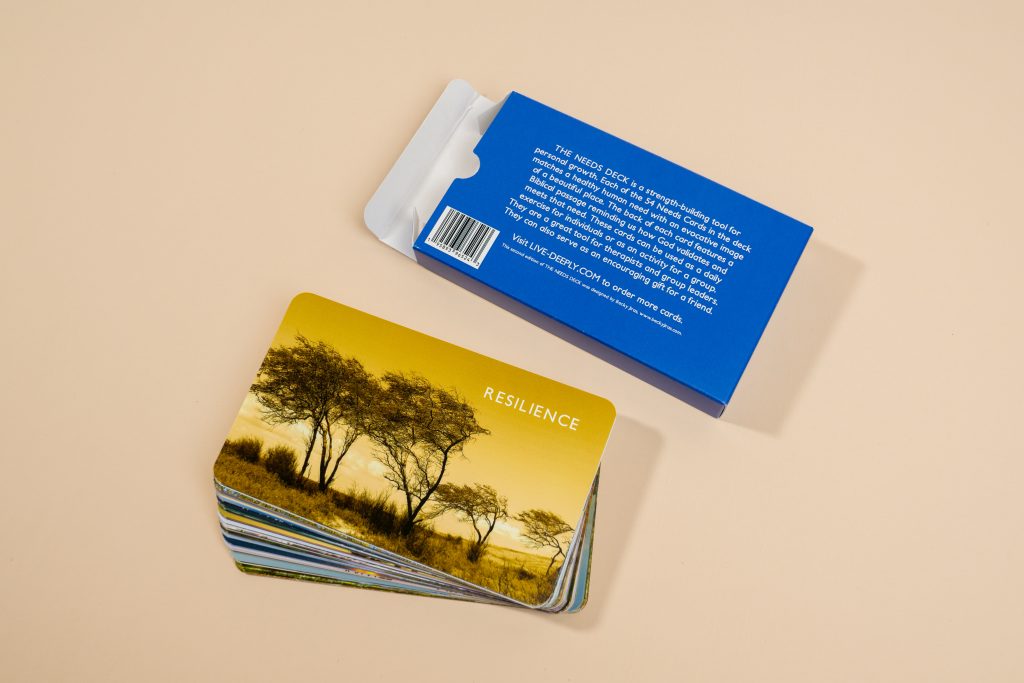
Card Deck Box Design Tips
- Keep the tuck flap simple. An overly decorated flap can crack or peel with repeated use — save detailed art for the front and back panels.
- Choose your finish deliberately. A matte finish reads as understated and premium; gloss makes colors pop but shows fingerprints more; a linen finish (common on higher-end decks) adds texture and durability.
- Design for the shelf, not just the hand. If the box will be sold or displayed, make sure the title and key art are legible at a glance, not just up close.
- Leave breathing room at the seams. Any panel that overlaps another during assembly needs a small margin so your design doesn’t get cut off or misaligned.
Going Custom: Printed and Retail-Ready Card Deck Boxes
If you’re moving past a one-off DIY box, Greener Printer’s card deck formats page covers playing cards, tarot, flashcards, and trading cards, each with a matching printed tuck box included so the deck arrives retail-ready. For playing cards specifically, Custom Playing Cards supports standard poker and bridge sizing plus custom dimensions, printed on recycled and FSC-certified card stocks with matte or gloss finishes.
If you need a standalone box — for a deck printed elsewhere, or a game with a non-standard card count — Custom Tuck End Box Printing is built specifically for this kind of folded, tuck-style packaging. And for indie game designers prototyping mechanics before a full production run, Custom Game Card Printing offers poker, tarot, mini, or custom sizes with no order minimums.
FAQ: Quick Answers About Card Deck Boxes
What are the standard dimensions of a playing card box? A tuck box for a standard 54-card poker deck typically runs about 2.6″–2.75″ wide, 3.6″–3.75″ tall, and 0.75″–1.25″ deep, depending on card stock thickness.
How do I make a card deck box at home? Start from a tuck box template sized to your card count, prototype it on regular paper first, then move to card stock once the fit is confirmed — a straightedge, bone folder, and craft knife will get clean folds for small batches.
What’s the difference between a poker-size and bridge-size card box? Poker cards measure 2.5″ x 3.5″; bridge cards are the same height but narrower at 2.25″ wide, so bridge decks need a slightly narrower box.
Can I get a custom card deck box printed instead of making one myself? Yes — printed tuck boxes are available as a matching add-on with a custom deck order, or as a standalone product if you need packaging without ordering the cards themselves.
Ready to bring your project to life? Greenerprinter offers a full range of sustainable printing options. Explore some of our most popular products:
Calendar Printing
Custom Calendars | Wall Calendars | Saddle-Stitched Calendars