
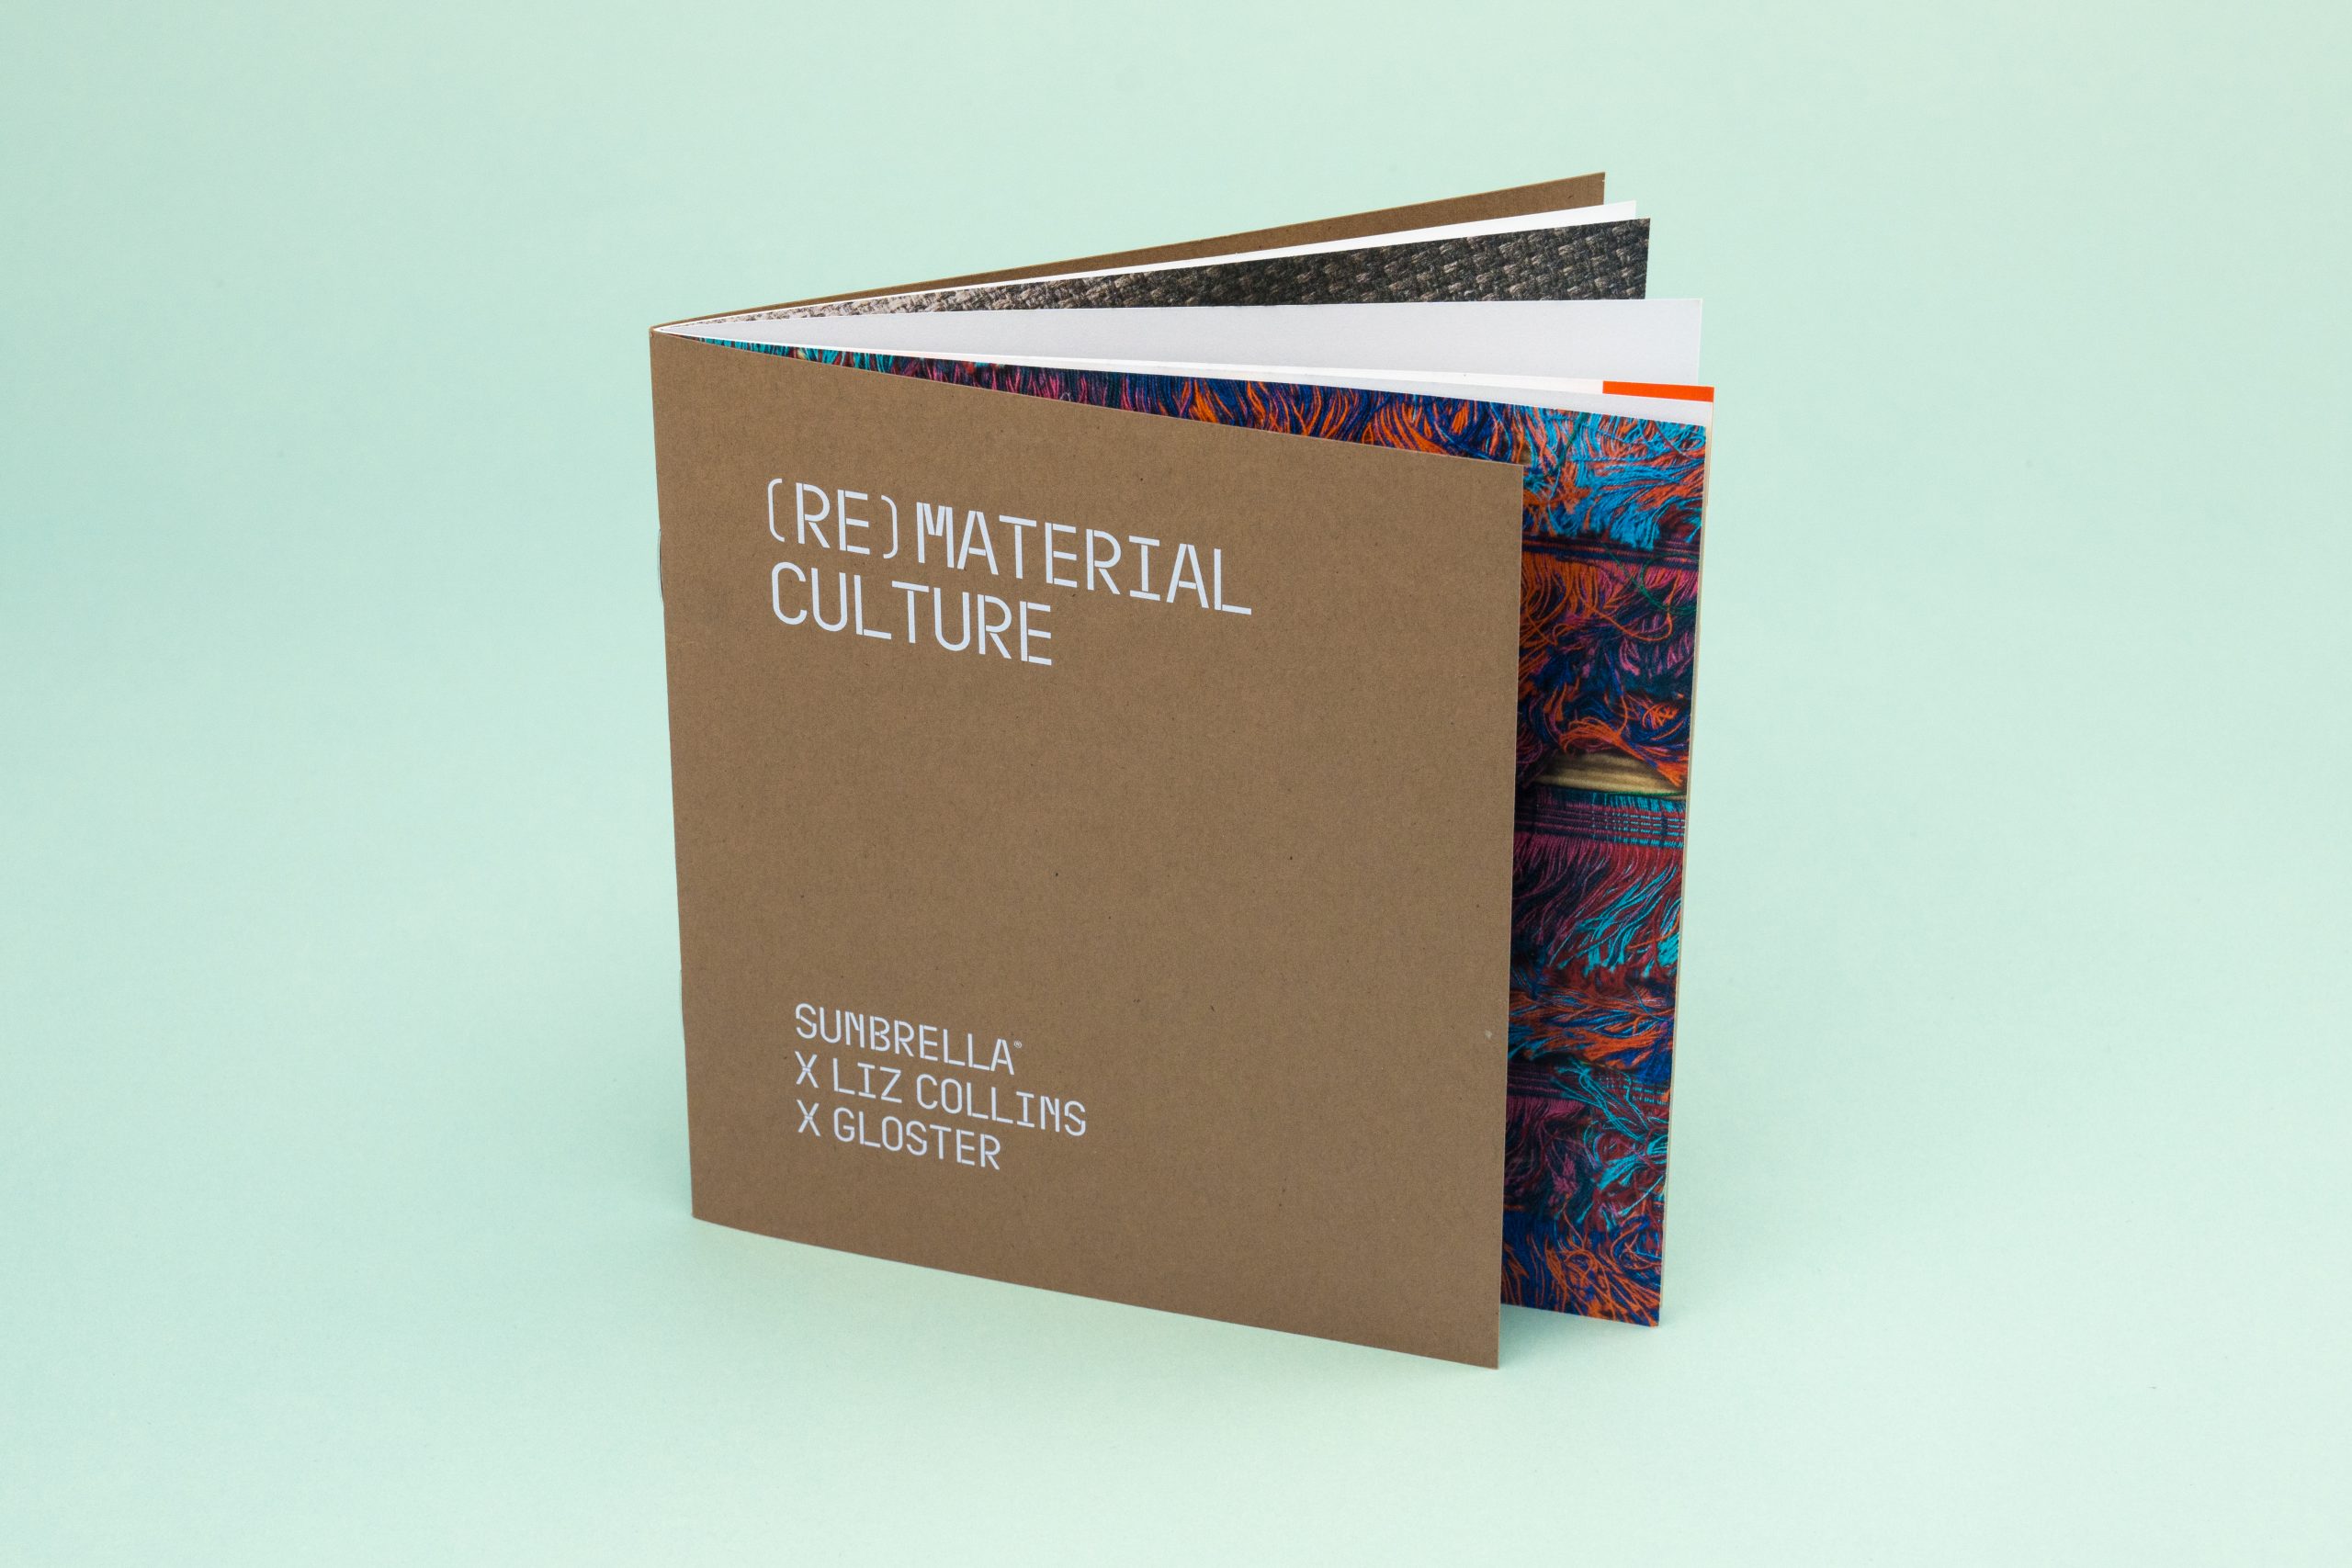
Bleed is the extra bit of image or color you extend past the edge of your design — beyond where the paper actually gets cut — so that any small shift in the cutting blade doesn’t leave a thin strip of unprinted white paper along the edge. It’s not a design flourish; it’s a safety margin. No cutting equipment, no matter how precise, trims in exactly the same spot on every single piece, so bleed exists specifically to absorb that tiny variation without anyone noticing.
Bleed, Trim Line, and Safe Area: Three Different Things
These three terms get used almost interchangeably, but they mean different things and understanding all three is really what “understanding bleed” comes down to:
- The trim line is where the piece actually gets cut — a business card’s trim line is its finished size, say 3.5″ x 2″.
- Bleed is the extra area extending past the trim line — background colors, photos, or graphics that should still look intentional if the cut lands slightly off from where it was aimed.
- The safe area sits inside the trim line, in the opposite direction — a margin (commonly 0.125″) where important content like text, logos, and faces should stay, so nothing important gets clipped if the cut shifts inward instead.
Put simply: bleed protects against a cut that goes too far out, and the safe area protects against a cut that goes too far in. Both exist for the same reason — cutting isn’t perfectly precise, and good file setup plans for that instead of hoping it doesn’t matter.
How Much Bleed Should You Add?
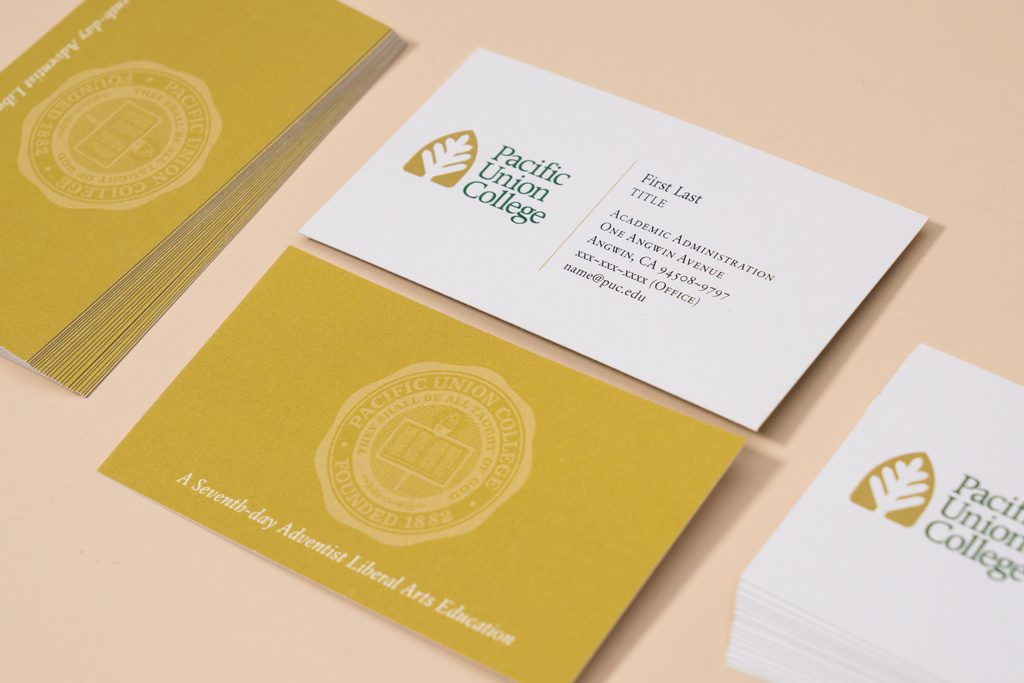
The standard answer, across nearly every print shop, is 0.125 inches (about 3mm) on every side of the piece. That’s the industry-standard bleed size for most flat printed products — postcards, business cards, brochures, catalogs — and it’s a safe default unless a specific product tells you otherwise. Some formats need more: banners, for instance, often call for a larger bleed (sometimes half an inch or more) to account for hems, grommets, or mounting hardware, and packaging bleed is usually tied to the specific dieline for that box or label rather than a flat universal number. When in doubt, check the exact spec for the product you’re printing rather than assuming 0.125″ covers everything.
Full Bleed vs. No Bleed
“Full bleed” printing means the design’s background — color, image, or pattern — extends all the way to (and past) every edge of the piece, with no white border anywhere. “No bleed” printing means the design intentionally stops short of the edge, usually with a visible white or colored margin framing the content. Neither one is inherently better — a full-bleed magazine cover or yearbook photo spread is a completely different look than a card with a clean white border — but a full-bleed design absolutely requires the extra bleed area described above, since there’s no margin of error if the background is meant to run edge-to-edge.
“Bleed for Print, Then Cut”: How the Workflow Actually Works
This is the part that trips people up: bleed isn’t something that ends up in the final piece — it’s designed in, printed, and then cut away. The sequence is design at full size plus bleed, print the full sheet including that extra bleed area, then trim down to the actual finished size along the trim line. The bleed area itself never survives to the final product; its entire job is to be there in case the blade doesn’t land exactly on the trim line.
Does Bleed Change by Product Type?
Yes — flat pieces like postcards, business cards, and brochure pages are the simplest case, at the standard 0.125″ bleed. Magazines, books, and yearbooks commonly use full-bleed photography on many pages, following the same 0.125″ convention per page. Banners typically need a larger bleed because of hemming, pole pockets, or grommet placement, which eats into the edge differently than a straight guillotine cut. Packaging is its own case entirely — bleed there is built around the specific dieline (the cut-and-fold pattern) for that box, sleeve, or label, so it’s worth working from the actual template rather than a flat-piece assumption.
Bleed vs. Knockout: Two Different Printing Terms
It’s worth clearing up, since the two sometimes get confused: bleed is about extending artwork past the trim edge to avoid white gaps after cutting. Knockout is a completely different concept — it refers to how overlapping colors interact in a design, where one color “knocks out” (removes) the color underneath it rather than printing on top of it, which is what creates clean reversed or white text sitting inside a colored background. Bleed is about the edge of the piece; knockout is about how layered colors behave within it.
How to Set Up Bleed in Your Design File
The practical version: build your document at the finished trim size plus 0.125″ of bleed on every side, extend any background color, photo, or graphic that should reach the edge all the way into that bleed area, and keep text, logos, and other important content inside the safe area rather than close to the trim line. Work in CMYK rather than RGB for anything headed to a commercial press, and export a press-ready PDF with the bleed and trim marks included rather than a flat image file. The same underlying concept applies even in consumer-level design or cutting software, not just professional layout tools — if a program has a “bleed” setting at all, it’s solving the exact same problem.
A Note on Getting It Printed
Greenerprinter’s print guidelines page provides exact trim, bleed, and safe-zone measurements broken out by product — booklets, flat and folded products, direct mail and postcards, packaging, and more — along with sample files, templates, and setup walkthroughs for each, so you’re not stuck guessing at generic bleed numbers when actual specs vary by format.
Ready to bring your project to life? Greenerprinter offers a full range of sustainable printing options. Explore some of our most popular products:
Calendar Printing
Custom Calendars | Wall Calendars | Saddle-Stitched Calendars
Book & Booklet Printing
Custom Books | Custom Booklets | Saddle-Stitched Booklets | Zines | Catalogs
Brochure Printing
Custom Brochures | Tri-Fold | Bi-Fold | Gate Fold | Z-Fold