
What Is a Bleed in Printing?
A bleed is the part of your design that extends beyond the final cut size and gets trimmed off when the print is finished. It helps avoid those white lines at the edges of your design when you print right up to the edge of the material. Not all print jobs have the same bleed size, though. Always double-check with your printer to ensure you have it right.
If you want to read more on this, click here.
Margins
Margins are the space between your design and the edge of the paper. When your design is trimmed to its final size, the margin ensures that important elements, such as text or images, aren’t cut off. The margin size can also change depending on your print size, so it’s a good idea to double-check the settings.
How big should your margins be?
A good rule of thumb is at least 0.25 inches (1/4″) inside the trim line, though you might want more for bigger formats or different designs. Again, always check your printer’s specifications.
Safe Zones
The safe zone is the area inside your design, excluding the edges. It’s where you want to keep things like logos, contact info, and text you don’t want getting chopped off. Keeping everything within the safe zone ensures it appears correctly in the final print.
What is the difference between a safe zone and a margin?
Margins refer to the recommended space between the edge of the page and the content. On the other hand, the safe zone is where you can be 100% sure you will not get trimmed.
Where do these apply?
Bleeds, safe zones, and margins help your design print cleanly without losing important details. However, the space you need depends on what you’re printing and how your design is laid out. Here’s how these concepts apply to some of our most popular products, and figure it out:
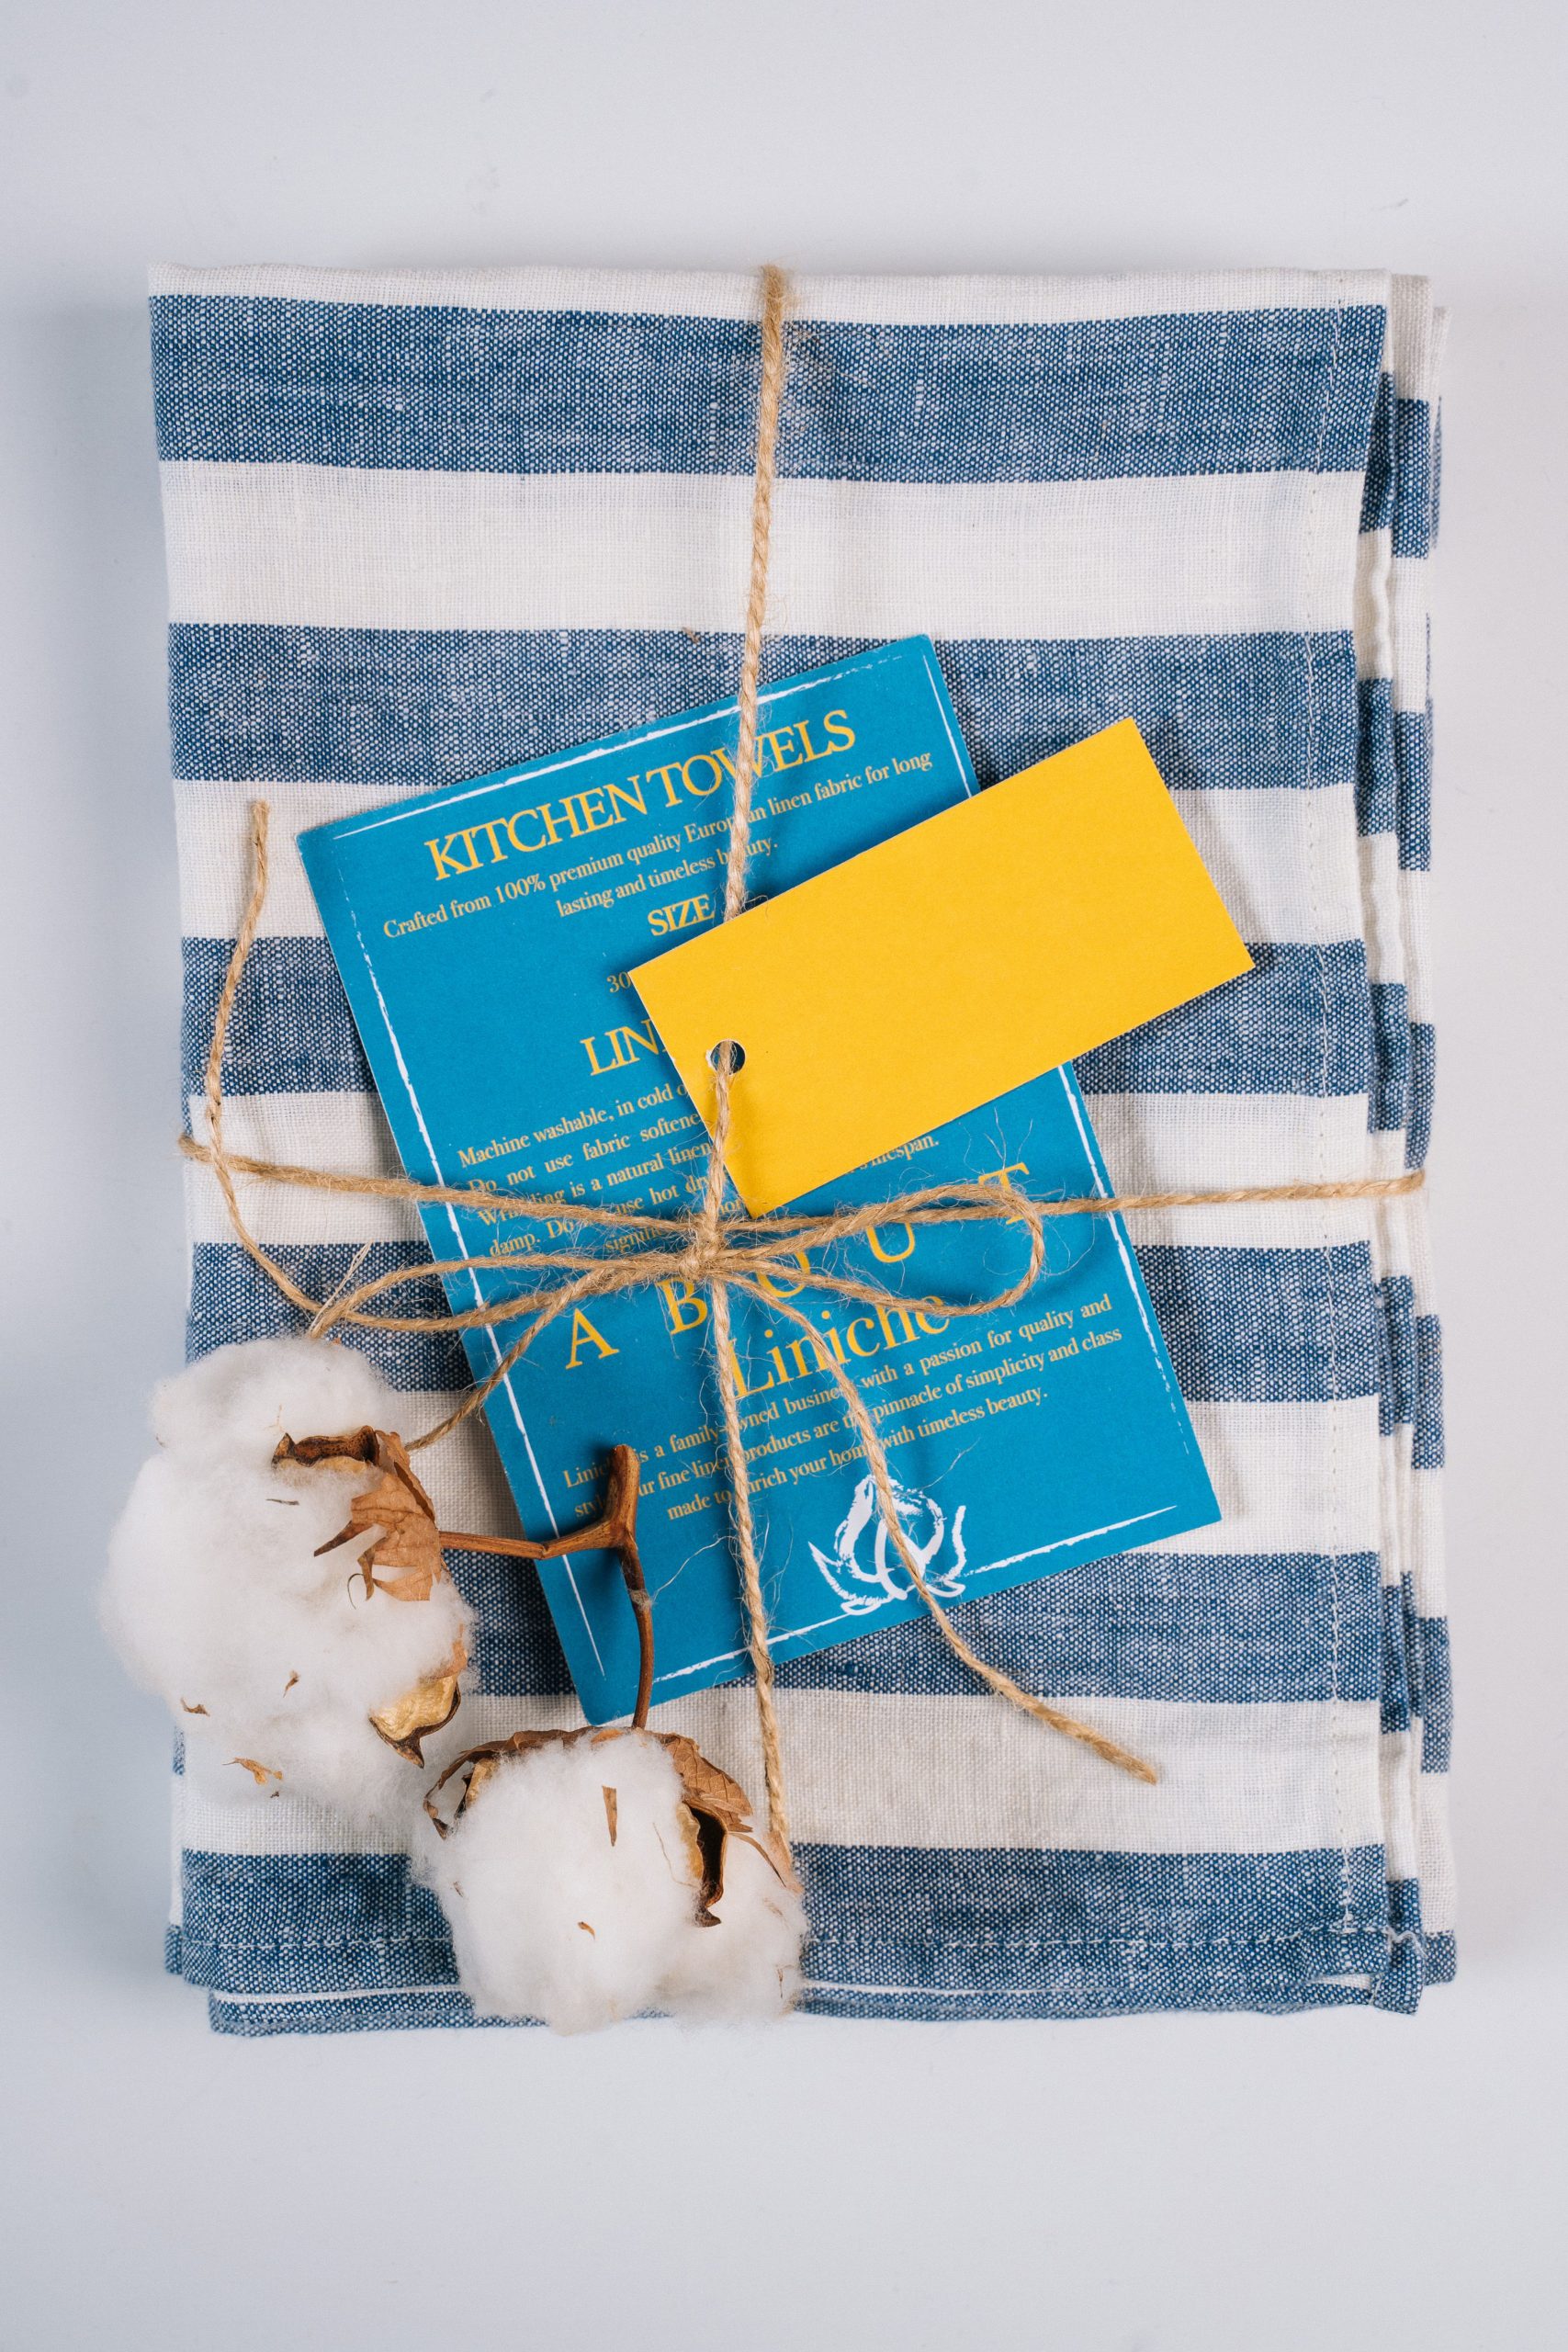
Hang Tags
For something like a hang tag that’s 3.5″ x 2″, you’ll usually want to add a bleed of about 0.125″ on each side. That makes your final file 3.75″ x 2.25″. To keep things safe, it’s best to keep text and logos at least 0.25″ away from the edge so they don’t accidentally get trimmed.
Want to learn more about hang tags? Check out more here!
Calendar
Calendars are typically 8.5″ x 11″, and the same deal—you’d add a bleed to make it 8.75″ x 11.25″. A good safe zone here would be around 0.25″ in from each side. If your design is text-heavy or has tons of fine details, you may want even more buffer space.
Want to create a custom calendar? Check out our free templates to start.
Need more help? Check out this guide.
Business Cards and Postcards
The same applies to postcards, business cards, and other printed materials. Most follow the rule of 0.125″ bleed and about 0.25″ for the safe zone, but it can shift depending on how your design is set up.
Looking into postcards for your business? Read this for more info.
Not sure what works best for your design? Feel free to reach out—we’re happy to help.
How to Set Bleeds, Margins, and Safe Zones in Design Software
Adobe Illustrator / InDesign
When you start a new document, you can easily set the bleed in the “New Document” setup. Just go to File > New and look for the Bleed section. Set it to 0.125 inches (1/8″) on all sides so your design extends beyond the trim line. To keep important text and images safe, add guides 0.25 inches from the edge.
Canva
If you’re using Canva Pro, adding a bleed is easy. After finishing your design, hit Download, choose PDF Print, and check the box for “Crop marks and bleed.” Canva will automatically add a 0.125-inch bleed. Leave 0.25 inches from the edge to protect text or logos, or add a thin line around your design as a visual guide.
Photoshop
In Photoshop, manually add bleed by increasing the canvas size by 0.125 inches on all sides (e.g., from 8.5” x 11” to 8.75” x 11.25”). Add guides 0.25 inches from the edge to mark the safe zone and prevent anything critical from being trimmed.
Conclusion
If you’re looking for a reliable partner for your printing needs, Greenerprinter is here to help. We take pride in delivering high-quality results with fast turnaround times. Our commitment to sustainability means we use recycled paper, eco-friendly inks, and responsible production practices—so you can feel confident about what you print and how it’s made.
Ready to bring your project to life? Greenerprinter offers a full range of sustainable printing options. Explore some of our most popular products:
Calendar Printing
Custom Calendars | Wall Calendars | Saddle-Stitched Calendars